

spring 創建應用
在這里,我們將使用eclipse ide創建一個spring框架的簡單應用程序。讓我們看看在eclipse ide中創建spring應用程序的簡單步驟。
- 創建java項目
- 添加spring jar文件
- 創建類
- 創建xml文件以提供值
- 創建測試類
在eclipse ide中創建spring應用程序的步驟
讓我們看一下使用以下步驟創建第一個spring應用程序的5個步驟: eclipse ide。
1、創建java項目
轉到 文件菜單- 新建- 項目- java項目。輸入項目名稱,例如firstspring- 完成。現在,創建了java項目。
2、添加spring jar文件
運行該應用程序主要需要三個jar文件。
- org.springframework.core-3.0.1.release-a
- com.springsource.org.apache.commons.logging-1.1.1
- org.springframework.beans-3.0.1.release-a
為了將來使用,您可以下載spring核心應用程序所需的jar文件。
下載spring的核心jar文件
全部下載spring的jar文件,包括aop,mvc,j2ee,remoting,oxm等。
要運行此示例,您只需加載spring核心jar文件。
要在eclipse ide中加載jar文件, 右鍵單擊您的項目- 構建路徑- 添加外部檔案文件- 選擇所有必需的文件jar文件- 完成。。
3、創建java類
在這種情況下,我們只是在創建具有name屬性的student類。學生的姓名將由xml文件提供。這只是一個簡單的示例,而不是spring的實際使用。我們將在"依賴注入"一章中看到實際的用法。要創建java類,請 右鍵單擊src - 新建- 類- 寫類名稱,例如學生- 完成。編寫以下代碼:
package com.yapf;
public class student {
private string name;
public string getname() {
    return name;
}
public void setname(string name) {
    this.name = name;
}
public void displayinfo(){
    system.out.println("hello: "+name);
}
}
這是簡單的bean類,僅包含一個帶有其getter和setters方法的屬性名稱。此類包含一個名為displayinfo()的附加方法,該方法通過問候消息打印學生姓名。
4、創建xml文件
創建xml文件單擊src-新建-file-給出文件名,例如applicationcontext.xml-完成。打開applicationcontext.xml文件,并編寫以下代碼:
<?xml version="1.0" encoding="utf-8"?>
<beans
    xmlns="http://www.springframework.org/schema/beans"
    xmlns:xsi="http://www.w3.org/2001/xmlschema-instance"
    xmlns:p="http://www.springframework.org/schema/p"
    xsi:schemalocation="http://www.springframework.org/schema/beans
               http://www.springframework.org/schema/beans/spring-beans-3.0.xsd">
<bean id="studentbean" class="com.yapf.student">
<property name="name" value="vimal jaiswal"></property>
</bean>
</beans>
bean 元素用于為給定類定義bean。 bean的 property 子元素指定名為name的student類的屬性。屬性元素中指定的值將由ioc容器在student類對象中設置。
5、創建測試類
創建java類,例如測試。在這里,我們使用beanfactory的getbean()方法從ioc容器中獲取student類的對象。讓我們看一下測試類的代碼。
package com.yapf;
import org.springframework.beans.factory.beanfactory;
import org.springframework.beans.factory.xml.xmlbeanfactory;
import org.springframework.core.io.classpathresource;
import org.springframework.core.io.resource;
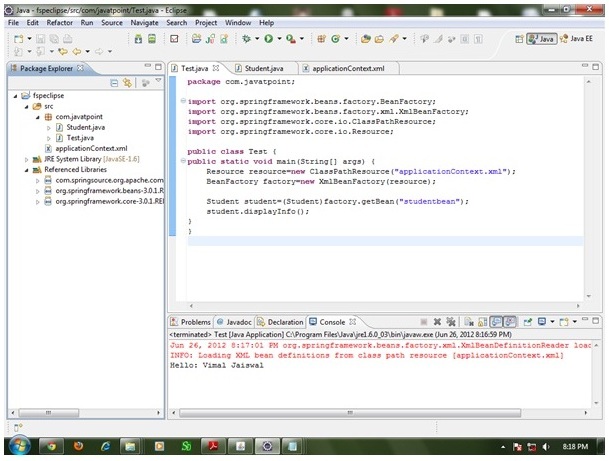
public class test {
public static void main(string[] args) {
resource resource=new classpathresource("applicationcontext.xml");
beanfactory factory=new xmlbeanfactory(resource);
student student=(student)factory.getbean("studentbean");
student.displayinfo();
}
}
現在運行此類。您將得到輸出hello: vimal jaiswal。
 Java實戰