

前端實現滑動按鈕AJAX與后端交互的示例代碼
html代碼
<div class="switch-box">
    <input id="switchbutton" type="checkbox" class="switch" />
    <label for="switchbutton"></label>
</div>
css代碼
.switch-box {
    width: 48px;
}
.switch-box .switch {
    /* 隱藏checkbox默認樣式 */
    display: none;
}
.switch-box label {
    /* 通過label擴大點擊熱區 */
    position: relative;
    display: block;
    margin: 1px;
    height: 28px;
    cursor: pointer;
}
.switch-box label::before {
    /* before設置前滾動小圓球 */
    content: '';
    position: absolute;
    top: 50%;
    left: 50%;
    margin-top: -13px;
    margin-left: -14px;
    width: 26px;
    height: 26px;
    border-radius: 100%;
    background-color: #fff;
    box-shadow: 1px 1px 1px 1px rgba(0, 0, 0, 0.06);
    /* 通過transform、transition屬性控制元素過渡進而形成css3動畫 */
    -webkit-transform: translatex(-9px);
    -moz-transform: translatex(-9px);
    transform: translatex(-9px);
    -webkit-transition: all 0.3s ease;
    -moz-transition: all 0.3s ease;
    transition: all 0.3s ease;
}
.switch-box .switch:checked~label::before {
    /* 語義:被選中的類名為"switch"元素后面的label元素里的偽類元素,進行更改css樣式 */
    /* 形成偽類結構選擇器:":"冒號加布爾值"checked" */
    /* " ele1 ~ ele2 "波浪號在css的作用:連接的元素必須有相同的父元素,選擇出現在ele1后的ele2(但不必跟在ele1,也就是說可以并列)  */
    -webkit-transform: translatex(10px);
    -moz-transform: translatex(10px);
    transform: translatex(10px);
}
.switch-box label::after {
    /* after設置滾動前背景色 */
    content: "";
    display: block;
    border-radius: 30px;
    height: 28px;
    background-color: #dcdfe6;
    -webkit-transition: all 0.3s ease;
    -moz-transition: all 0.3s ease;
    transition: all 0.3s ease;
}
.switch-box .switch:checked~label::after {
    background-color: #13ce66;
}
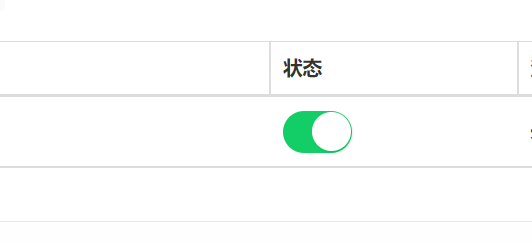
效果圖
效果如圖:
js事件觸發
<input id="switchbutton" type="checkbox" class="switch" onclick="reversestatus('1')" />input添加onclick事件,點擊觸發reversestatus()函數
<script>
	function reversestatus(id){
		$.get("/pocs/reverse/"+id);
	}
</script>
flask后端接口
@poc.route('/pocs/reverse/<int:id>', methods=['get'])
def reverse(id=none):
    print(id)
    return 'success'
在后端編寫我們需要的邏輯
參考鏈接
https://article.itxueyuan.com/rx83a2
到此這篇關于前端實現滑動按鈕ajax與后端交互的文章就介紹到這了,更多相關滑動按鈕ajax與后端交互內容請搜索碩編程以前的文章或繼續瀏覽下面的相關文章希望大家以后多多支持碩編程!
 學習AJAX